
In this section, you will learn to link CAD files in Revit, underlay CAD data within a Revit model to place model elements, and export Revit views and sheets to DWG.
Part one includes: Linking CAD files to Revit
Part two includes: Building a new project using a CAD background
Part three includes: Export to CAD
Linking CAD files to Revit
You can link a CAD file into a Revit project. Revit 2023 can import up to nine different types of CAD files, including DWG, DGN, OBJ, 3DM, and SKIP file types. It is a best practice to link a CAD file when you expect the CAD file to change. That way, when the CAD file is updated, you can simply reload the linked CAD file to see the changes.
Exercise files:
Start a project using one of the Architectural templates.
Use the SitePlan.dwg exercise file.
Estimated time to complete topic:
10 minutes
Topic steps:
10
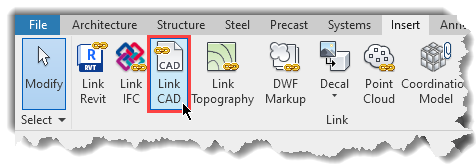
1. To link a CAD file, on the Insert ribbon in the Link panel, click Link CAD. When you do, Revit will display the Link CAD Formats dialog.
2. In the Files of type dropdown, make sure DWG Files is specified.
3. Navigate to the SitePlan.dwg exercise file. Once selected, a Preview image appears.

4. If you want the CAD file to only be visible in the current view, select Current view only. When you select this option, Revit will only link two-dimensional geometry, even if the CAD file contains 3D points.
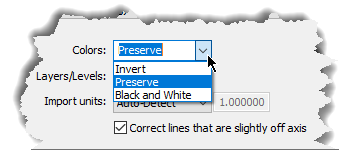
5. In the Colors dropdown, you can choose Invert to invert the objects from the imported file to Revit-specific colors, Preserve to keep the colors the same as the CAD layers, or Black and White to turn the CAD layers to black and white. Select Preserve.
6. In the Layers/Levels dropdown, you can choose All to display all layers from the CAD file, Visible to display only layers that were visible when the CAD file was last saved, or Specify to display a dialog for you to select the CAD layers to display. Select All.

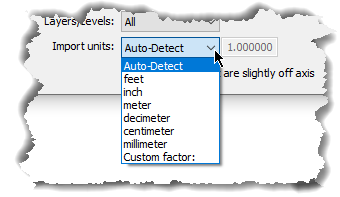
7. In the Import units dropdown, you can choose either Auto-Detect to have Revit detect the units used, Custom factor to specify the scale, or specify an available unit scale. Select Auto-Detect.
8. In the Positioning dropdown, you can choose where to place the linked file. The default is Auto - Origin to Internal Origin; however, when you choose another option, it becomes the default for your current Revit session.
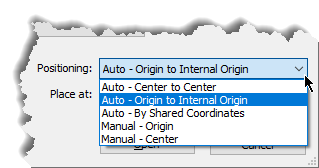
9. The Place at option lets you specify the level on which to place the linked file.
10. Enable Orient to View if you want Revit to rotate the inserted CAD file to Project North. Keep Orient to View enabled.
11. Click Open. The file is now linked to the host file.
Ready for more? Head to Working with CAD part two for: Building a new project using a CAD background
Or go back to the AEC Collection Quick Start Guide for Architects


