1) Using WebGL streaming to render external UIs to interactive textures
This is an example on how to stream the UI of an application written using Qt Quick to an interactive texture in VRED. The goal is to have the display of an externally running application appear in a VRED scene and be able to fully interact with it.
1.1) WebGL streaming with Qt
WebGL streaming works with any Qt Quick application build with at least Qt version 5.12 (https://www.qt.io/blog/2018/11/23/qt-quick-webgl-release-512).
To use it, you just need to start your application with this command line parameter:
-platform webgl:port=9000
This tells the application to not open its normal UI but to internally start a web server and provide its UI as a WebGL stream on port 9000. This can be viewed in any recent browser by visiting http://localhost:9000”.
It is possible to stream multiple UIs in parallel by starting every application with a different port.
1.2) Managing Qt Quick UIs with VRED
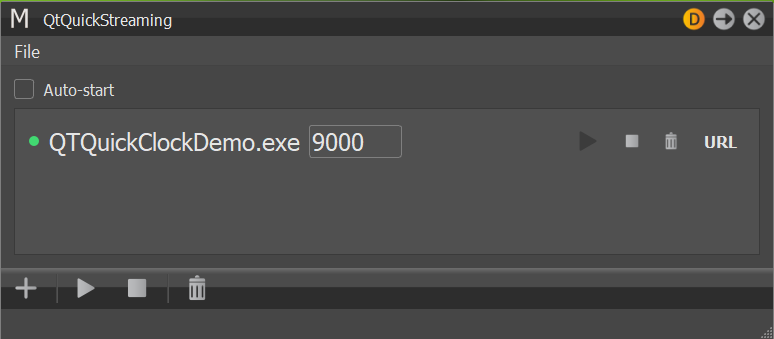
To simplify the usage of more complex UI setups, VRED provides a plug-in found under “Scripts->QtQuickStreaming”. In this module you can add multiple applications, assign them a port under which their UI will be reachable and then start or stop them. Clicking the URL button will add an URL to the clipboard which can then be used to set up the connection to a texture in VRED’s Media Editor.
The file menu contains the functionality to save the entire setup to a project file from which it can be restored later.
The receiver of the WebGL stream is a WebEngine set up in VRED’s Media Editor.
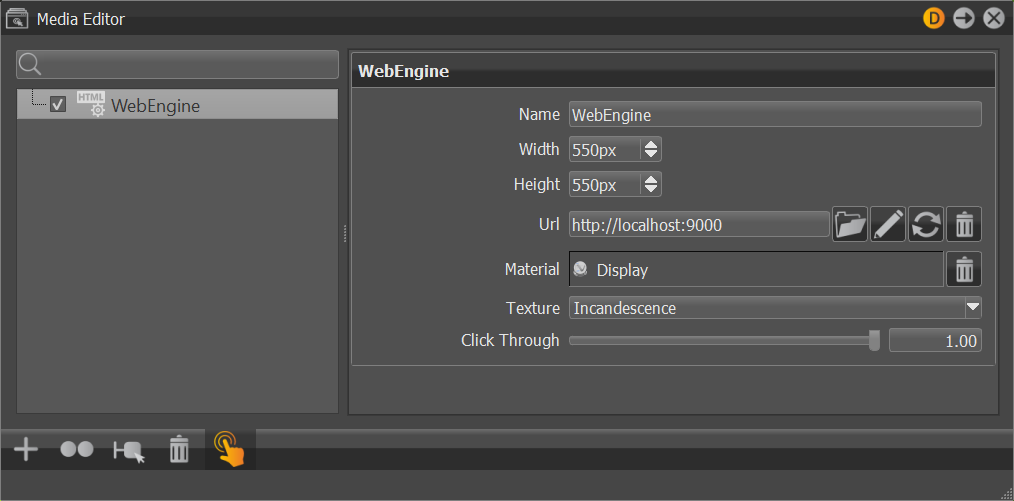
Here you create a new WebEngine and assign it an existing material by using drag&drop from the Material Editor. Then you enter the URL with the correct port under which your application is reachable and hit the “reload” button.
The UI of the external application should now be visible anywhere in the scene where the assigned material is used.
2) The example VRED scene
We provide an example scene called “VREDClockScene.vpb”. You can find this file attached to this article.
The demo is a clock which consists of a 3D model with a button on top and its display is streamed using WebGL.
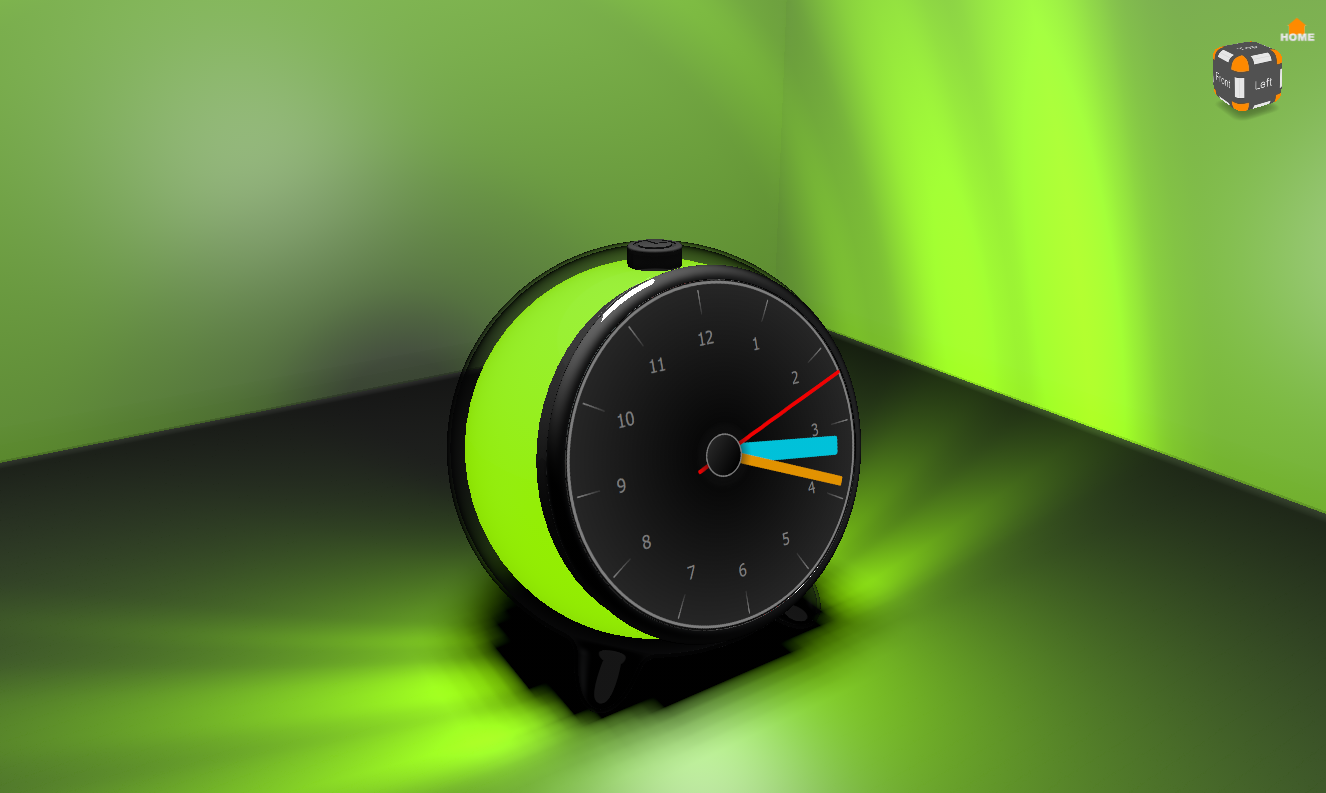
Pressing the button on top switches the clock between analog and digital display.

In case of the digital display, you also have a slider which controls the color of the light emitted by the clock.
Technically the button on top is a touch sensor (configured in the Touch Sensor Module). Pressing the touch sensor activates a variant set called “Knob_play”. The variant set itself calls a Python function named “toggleClocks()” every time it’s state is toggled.
3) Communication between VRED and external UIs
3.1) Web Sockets
The purpose of the demo is to show how to set up bidirectional communication between VRED and an external Qt Quick application. The reason for wanting to have this is that you can trigger functionality inside the external application that is not limited to interactions with the streamed display. In this case we want the button on top of the clock to switch between the analog and digital display modes, therefore we need a communication channel to the demo application.
Likewise, we want the slider in the digital clock mode to change the color of the light. For that reason, we also need a communication channel back from the demo application back to VRED
The clock demo application uses web sockets to realize bidirectional communication. The main reason for this decision is the availability of QWebSocket and QWebSocketServer in Qt Quick. That means we can realize the communication entirely in QML without the need to fallback to C++ code. Also, this enables us to directly stream the application from the viewer in Qt Design Studio without having to port our project over to Qt Creator in order to test it.
3.2) Design
Either VRED or the Qt Quick application must implement a QWebSocketServer to listen for incoming connections. It’s easier and more concise doing that on the Qt Quick side. For once, there’s already a http server running for the WebGL stream. Not having a server running on the VRED side makes it possible to run all code from the script editor since we can’t have blocking code running there.
We implement a QWebSocketServer in the Qt Quick application. It listens for new connections and once one is established, it will keep this open for sending and receiving.
On the VRED side, we implement a web socket client in Python. For that we also use QWebSocket since the Python library does not ship with web socket support.
Optionally the demo shows how to announce the availability of an external UI so that VRED knows when to initiate the web socket connection. It does so by using a XMLHttpRequest to connect to VREDs internal web server on port 8888 and call a Python function.
When the web socket connection is established, communication happens by sending strings in both directions. What is included in those strings is up to the developer. See the demo source code for more details.
Part 2 of the article can be found here: http://knowledge.autodesk.com/community/article/291716
Part 3 of the article can be found here: http://knowledge.autodesk.com/community/article/291721


